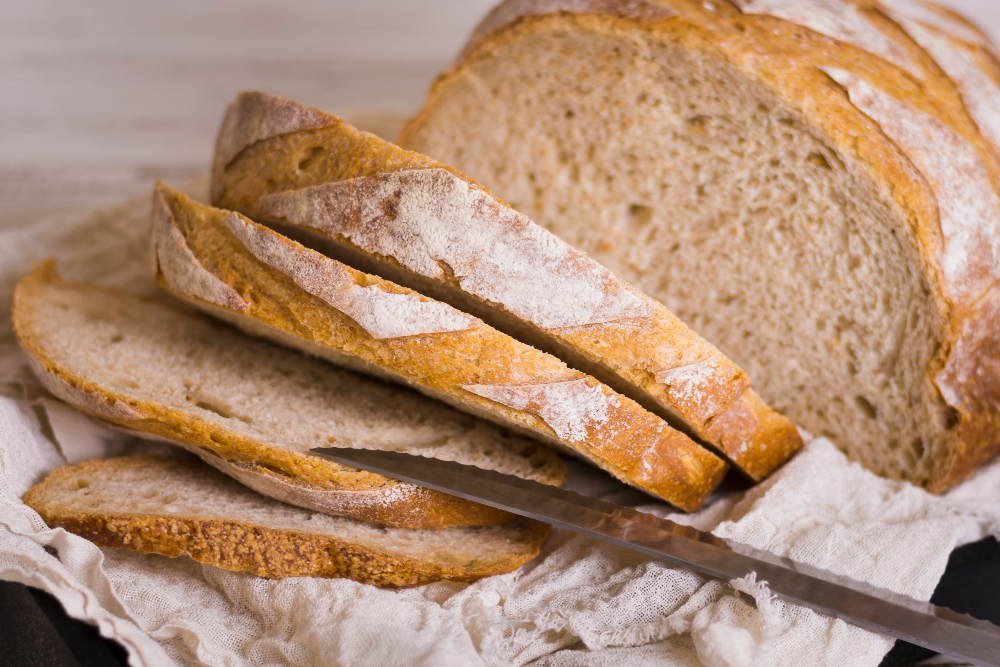
Sourdough bread has captured the hearts of bakers and food enthusiasts worldwide. With its distinct tangy flavor, chewy crust, and airy crumb, it’s no wonder why sourdough has become a staple in kitchens everywhere. If you’ve ever wondered how to bake the perfect sourdough bread, this beginner’s guide will walk you through the process step-by-step.
Whether you’re a novice or looking to refine your skills, this recipe is designed to help you achieve bakery-quality sourdough bread right at home.
Why Sourdough?
Sourdough bread is unique because it relies on natural fermentation, using a combination of flour and water to create a live culture known as a sourdough starter. Unlike breads made with commercial yeast, sourdough offers:
- Improved Digestibility: The fermentation process breaks down gluten and other hard-to-digest components.
- Rich Flavor: The natural fermentation creates a complex taste that’s both tangy and savory.
- Health Benefits: It’s rich in probiotics, which promote gut health.
Ingredients for the Perfect Sourdough Bread
To bake the perfect sourdough bread, you’ll need:
- 500g (4 cups) bread flour
- 350g (1.5 cups) water
- 100g (1/2 cup) active sourdough starter
- 10g (2 tsp) salt
This recipe yields one medium-sized loaf, serving approximately 8 people.
Nutrition Facts (Per Serving):
- Calories: 180
- Protein: 6g
- Carbohydrates: 36g
- Fat: 0.5g
- Fiber: 2g
Step-by-Step Guide to Baking the Perfect Sourdough Bread
1. Prepare Your Sourdough Starter
A strong and active sourdough starter is the foundation of perfect sourdough bread. If you don’t have one yet, create it by mixing equal parts flour and water over 7 days. Once it’s bubbly and doubles in size within 4-6 hours of feeding, it’s ready to use.
2. Mix the Dough
- In a large mixing bowl, combine the flour and water. Mix until no dry flour remains.
- Cover the bowl with a damp towel and let it rest for 30 minutes (autolyse).
- Add the sourdough starter and salt to the mixture. Mix thoroughly until the dough becomes cohesive.
3. Perform Stretch and Folds
Instead of kneading, use the stretch-and-fold technique to develop gluten:
- With damp hands, grab one side of the dough, stretch it upward, and fold it over itself.
- Rotate the bowl and repeat this process 3-4 times.
- Perform this technique 4 times over the next 2 hours, spacing each session by 30 minutes.
4. Bulk Fermentation
After the last stretch and fold, let the dough ferment at room temperature for 4-6 hours or until it has doubled in size. For enhanced flavor, refrigerate the dough overnight.
5. Shape the Dough
- Transfer the dough to a lightly floured surface.
- Shape it into a round or oval loaf, depending on your preference.
- Place the dough in a proofing basket or a bowl lined with a floured kitchen towel.
6. Proofing
Allow the dough to proof for 1-2 hours at room temperature, or until it passes the “poke test.” When lightly pressed with a finger, the dough should spring back slowly.
7. Preheat and Bake
- Preheat your oven to 475°F (245°C) with a Dutch oven or baking stone inside.
- Score the top of the dough with a sharp knife to allow it to expand in the oven.
- Carefully transfer the dough into the preheated Dutch oven, cover with the lid, and bake for 20 minutes.
- Remove the lid and bake for an additional 20-25 minutes, or until the crust is golden brown.
Tips for Success
- Monitor Your Starter: Use your sourdough starter at its peak activity for the best results.
- Humidity Matters: Baking with steam helps achieve a crispy crust.
- Patience is Key: Good sourdough bread takes time, so don’t rush the process.


